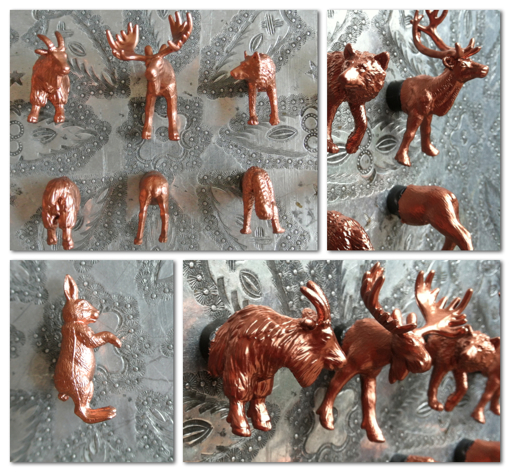
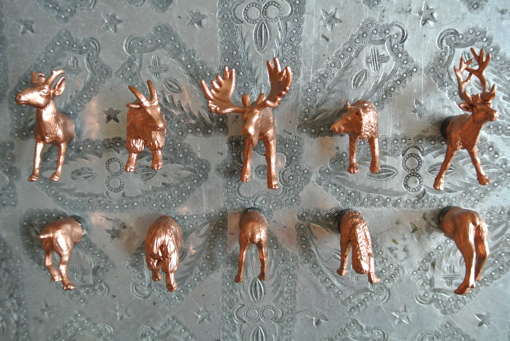
Don’t worry, no real animals were harmed in the making of this craft… only some plastic kids toys. Instead of wondering what to do with your old grimy kids toys, give them a good dish soap bath and then hack them in half for ‘Heads and Tails’ Animal Magnets. Plastic animal lovers (and personal friends) should close your eyes now, because the pictures in this post may very well disturb you (or reveal your holiday gifts).
Here are the steps, mostly in pictures.
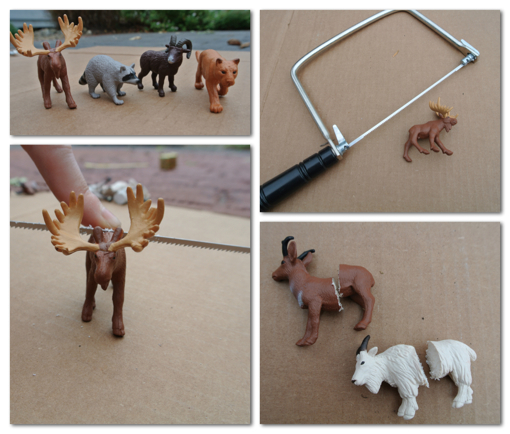
You will need:
- Plastic animal or dinosaur toys if you have old kids toys, this is a great way to hold on to the childhood memories, otherwise take a trip to a yard sale or toy store
- Primer, spray paint (primer is important in order to get really bright metallic colors)
- Copper (or gold) spray paint
- Hack saw with a fine blade (you should have seen the guy at Home Depot look at me when I whipped out a moose and said I wanted to saw it in half, that was FUN)
- 1/2 inch, strong hold, small ceramic magnets
- Hot glue gun, or another strong adhesive glue
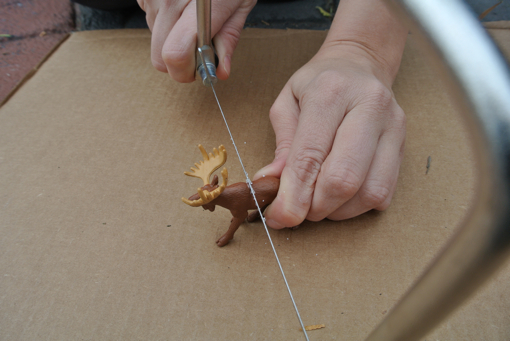
NOTE: If I were to do it again, I would have bought a vice grip for holding the toys while sawing. It would have been much easier and safer if I had.
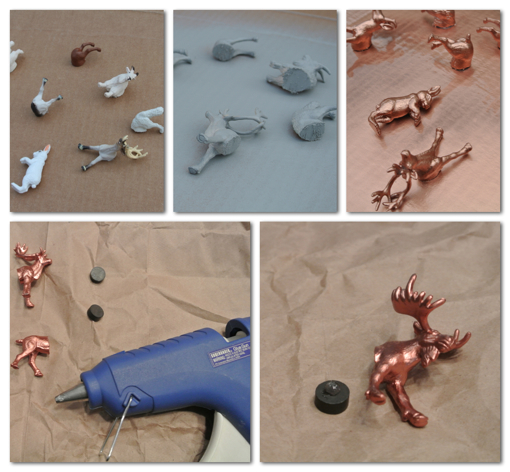
Make sure to do all of your spray painting outdoors or in a well ventilated area. And wait for the paint to dry COMPLETELY before applying another layer.
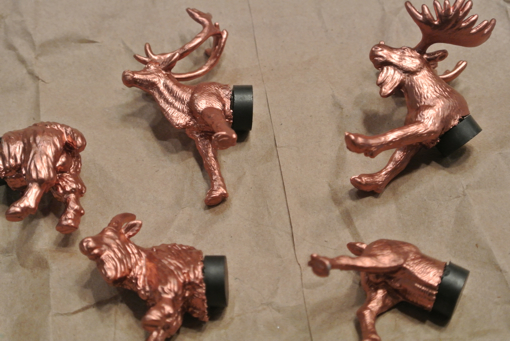
I Love Them Sooooo Much!
